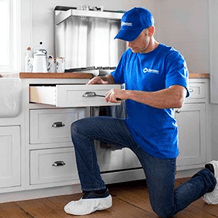
We offer a wide range of services for that fresh look, or just maintenance or updates to keep your home functioning and safe. Regardless of the size of the job, we have a craftsman that can tackle it.
home maintenance / September 17, 2018
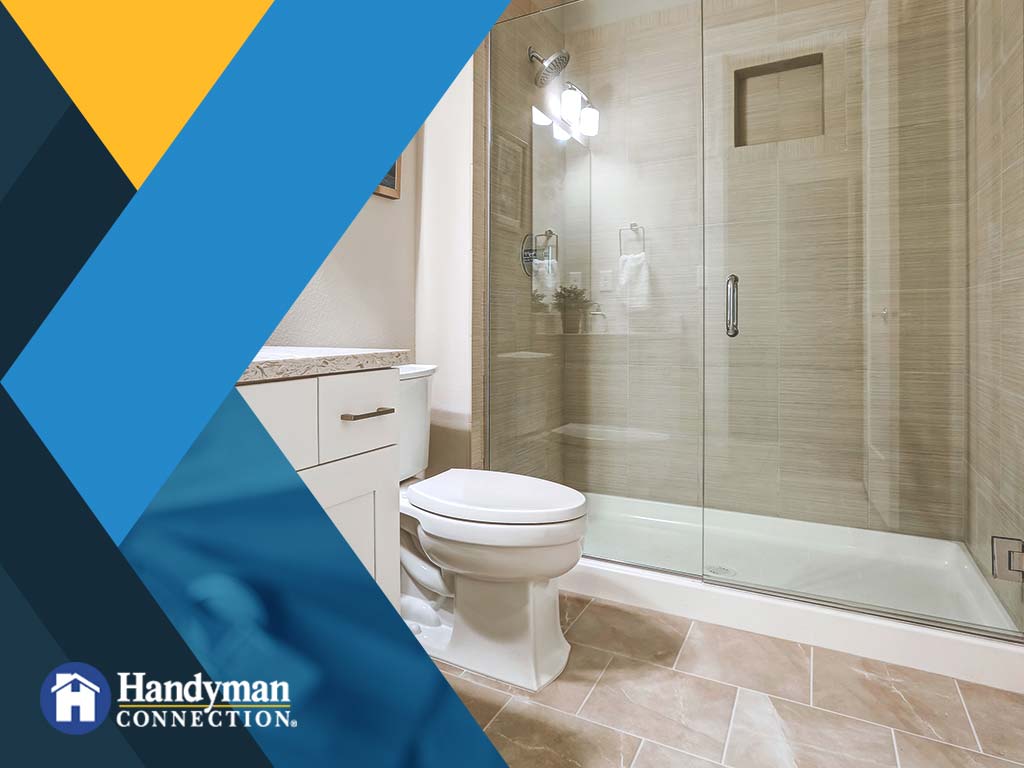
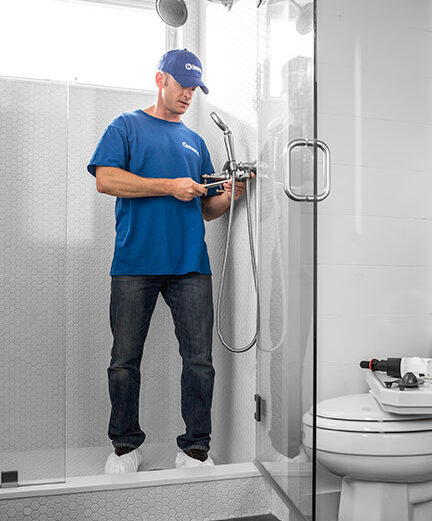
Your bathroom is a high-traffic area in your home. This makes it difficult to hide imperfections like broken or cracked tiles. Fortunately, it is one of the aesthetic-related problems in your home that you can address, even without the help of the pros.
Handyman Connection® of Lincoln shares how to repair damaged bathroom tiles.
1. Remove the Grout
Grout fills the gaps between the wall or floor tiles. Start by removing all the grout around the damaged tile. You may find it easier to peel a soft grout than its hard counterpart, which often requires a grout remover. Be careful in handling this product and avoid spilling it on the surface of other tiles.
2. Get Rid of the Old Tile
Removing your bathroom tiles can be easy or challenging, depending on their installation. Tiles that lie on the floor, for instance, do not require too much effort; you only need to pull them out. Most tiles, however, have adhesives, which harden over time and make them difficult to remove. Loosen these held-fast tiles by punching a hole in them. You can then chisel at the tile and adhesive.
3. Prepare for Tile Installation
Clean the area where you will install the new tiles. Remove all the debris from the old tiles, especially if you had to break them. Vacuum grout and adhesive residues and dust to avoid adhesion issues later on. Place the tile on the bare spot before adding glue to check whether it’s even with the other tiles. Remember that your new bathroom tiles should lie flat on the floor.
4. Place the New Tile
Apply a thin layer of adhesive on the back of the new tile using a putty knife. Set the tile in place by wiggling it back and forth and give it at least 24 hours to bond. You can then add the grout and remove the excess by wiping it with a damp sponge.
Turn to Handyman Connection® of Lincoln for your home remodeling and installation projects. Call us today at (402) 205-2575 or fill out our online form for an estimate.
4535 Normal Blvd Suite 145
Lincoln, NE 68506

© Handyman Connection 2024 | Privacy Policy
 (402) 875-9696