We offer a wide range of services for that fresh look, or just maintenance or updates to keep your home functioning and safe. Regardless of the size of the job, we have a craftsman that can tackle it.
Home Maintenance / October 14, 2016
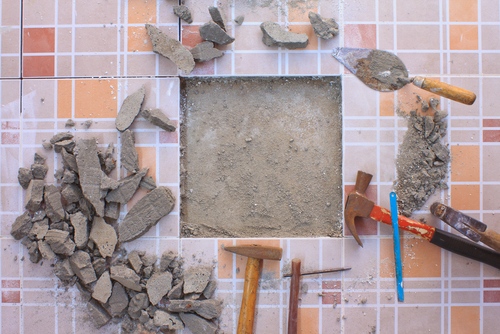
We all have “one of those days” every now and then. If your “one of those days” consists of having to replace a broken or cracked tile, don’t worry. Your crew at Handyman Connection of Lexington is here to help talk you through some tips and tricks if you’re tackling the replacement of a broken tile in your home.
Tile, more specifically ceramic tile, is about as durable as it gets, but sometimes heavy objects fall on your tiled floors or knick the corner of your shower, which means it’s time to break out the tools to replace the tile.
Before you begin the process of replacing the tile, check out this solution for small hairline cracks. This will help save you time and money without having to completely replace the tile. Apply a paint that matches the tile exactly. Paint right over the crack with a Q-Tip. If the crack is small enough, you can slide by without replacing the tile all together. This is a pretty common quick fix to help make your life a little easier.
If your crack is too big to ignore or if the tile is completely broken, follow these steps to fix it right up.
That’s all it takes! The process may be a little more tedious and difficult depending on the number of tiles you need to replace. If this is common, it may be an indication that it’s time to completely replace the old tiles as the quality can diminish over time. You can also use that as a good excuse to freshen up the area with some trendy upgrades such as a rustic brick, designs in your tiles, following a grayscale or other colored patterned, or even a wooden look.
Don’t forget that the experts at Handyman Connection of Lexington are always willing and ready to help you. We specialize in any and all home maintenance projects regardless of how large or small the job may be – yes that includes replacing tiles! Don’t hesitate to give us a call to discuss your next home maintenance job.
1585 Mercer Rd, Ste 120
Lexington, KY 40511

© Handyman Connection 2024 | Privacy Policy
 (859) 276-1811