If you’re one of those weekend warriors who enjoys doing home improvement projects in your free time, installing a new kitchen backsplash is a great project. The installation time is quick and the materials are affordable, which makes it an excellent way to change the look of your kitchen with minimal effort and expense. Follow these steps to refresh your kitchen this weekend:
- Determine square footage. Measure the area where you will be applying the backsplash, noting the height and width to determine the correct square footage. Be sure to add a little extra tile to your order, about 10%, to allow for mistakes and waste.
- Do the prep work. Turn off the power to the kitchen, then start removing outlet covers and switchplates in the area you’ll be tiling. Clear the counters and remove all appliances, then lay out heavy craft paper or cardboard to protect the countertops. Patch any holes with spackling compound and sand until smooth. Wipe down the walls with TSP (tri-sodium phosphate) or mild soap and water, then sand and degloss when dry.
- Find the focal point. Take a look at the area you’re putting the backsplash. Where are your eyes drawn to first? This point will be the most visible, and you’ll want everything to appear well-aligned, so you’ll need to begin here and work your way out.
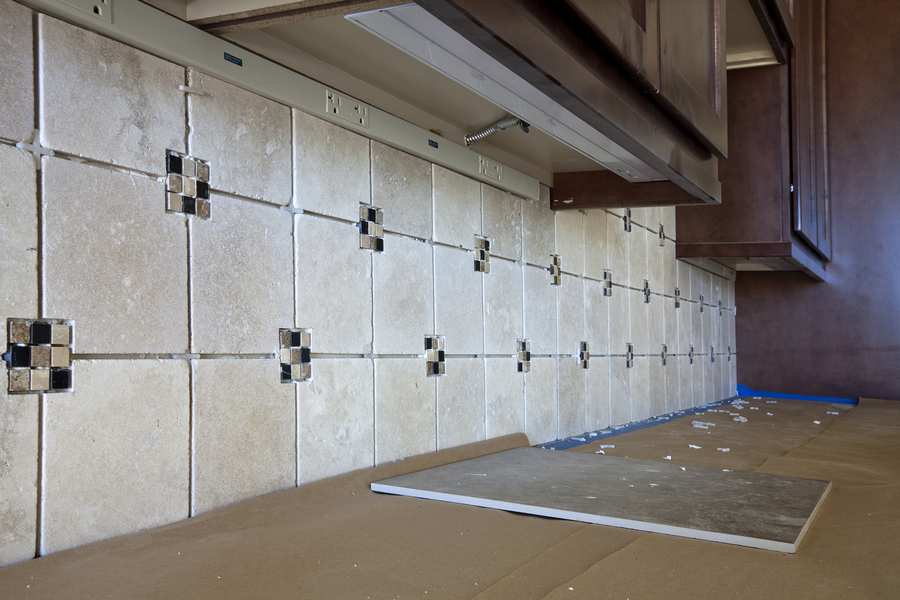
- Apply the adhesive. Using a notched trowel, apply a thin layer of mastic or thin-set mortar at a 45-degree angle to a small 2-foot section of the wall. Working in small sections will prevent the adhesive from drying too quickly.
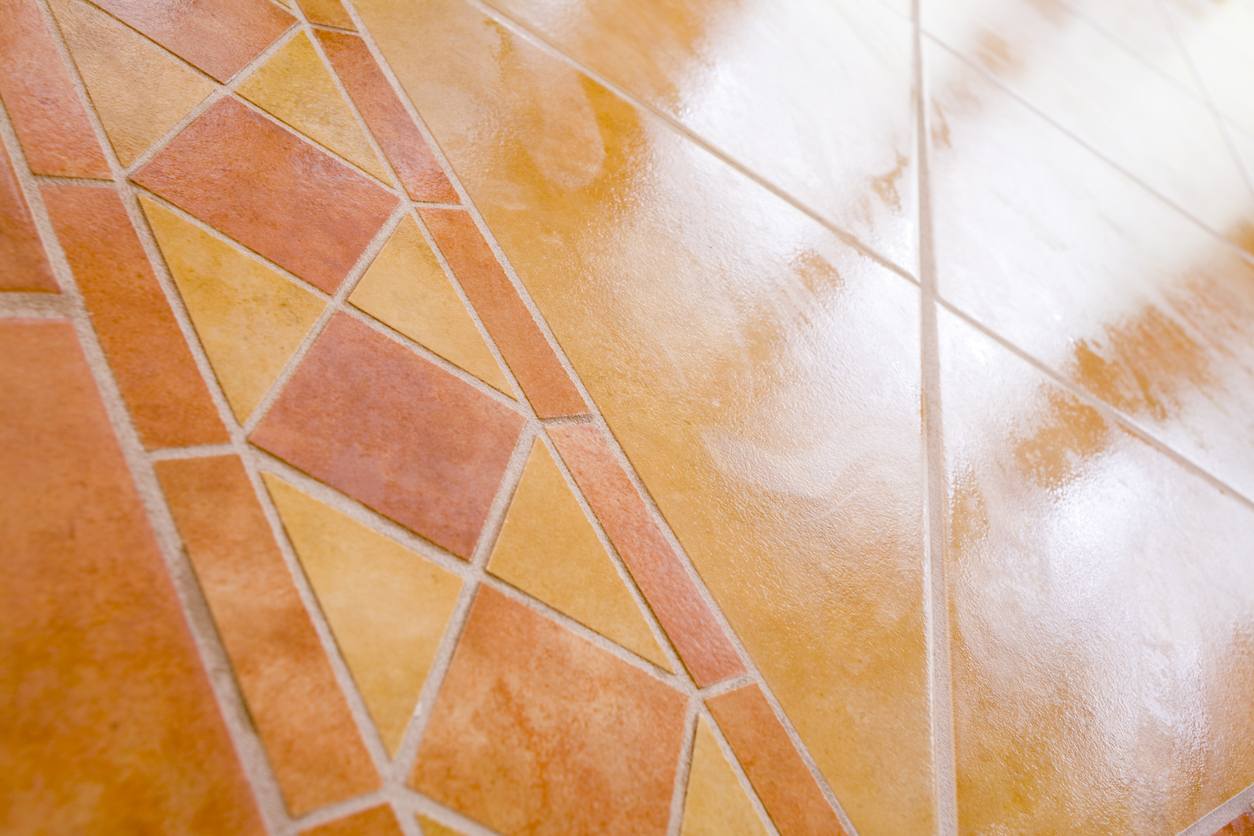
- Lay the tiles. Start along the bottom edge of the countertop and begin laying the tile or mosaic sheets, using tile spacers to keep them spaced evenly. Cut tiles as needed, using a wet-saw for natural stone tile or a tile cutter for ceramic or porcelain tiles, to fill in any gaps greater than an inch between the bottom of cabinets and the top row of tiles. Anything smaller can be hidden with a thin piece of molding. Use light taps with a rubber mallet to help set the tile. Allow everything to dry for 12-24 hours. For natural stone tile, use a stain-preventing pre-sealer at least 3 hours before applying grout.
- Apply the grout. After wiping off the tiles with a wet rag, use a grout float to begin applying the grout. Moving diagonally, work the grout into the joints at a 45-degree angle, wiping off any excess. Use a damp rag or sponge to clean grout off the face of the tiles, rinsing it out frequently and repeating as necessary until the haze is gone.
- Dry and seal. The grout will need to dry anywhere from 24 hours to 3 days. Once it’s done, you’ll want to seal it with a grout sealant to ward off stains. If you have any gaps left over between the counter and the bottom of your backsplash, use a little latex caulk to fill them in.
Get Help From a Professional Handyman
Whether you need help replacing a tile floor or have some other issue that needs addressed by a competent professional, a quick call to Handyman Connection at 1-800-88-HANDY will get you the help you need.
 800-88-HANDY (42639)